Mini Calzones with Bolognese Mole Sauce

Aaron has been picking up my slack of the housework this past week so I felt it was my turn to make us a nice dinner (True story: When I asked him if he wanted me to make dinner tonight he said "I was just about to ask you the same thing!" Isn't he romantic?) I don't know where I cam up with this idea but I liked it because it sounded good in my head and because it's different than the way we usually cook. Fair warning that this recipe takes a while and has many steps, so prep your ingredients and carve out some time if you want to make this dinner. But it's so worth it - it's delicious.

Mini Calzones with Bolognese Mole Sauce (serves 4)

1 1/2 recipes pizza crust (If you're using your own recipe, make it with 1 1/2 cups flour)
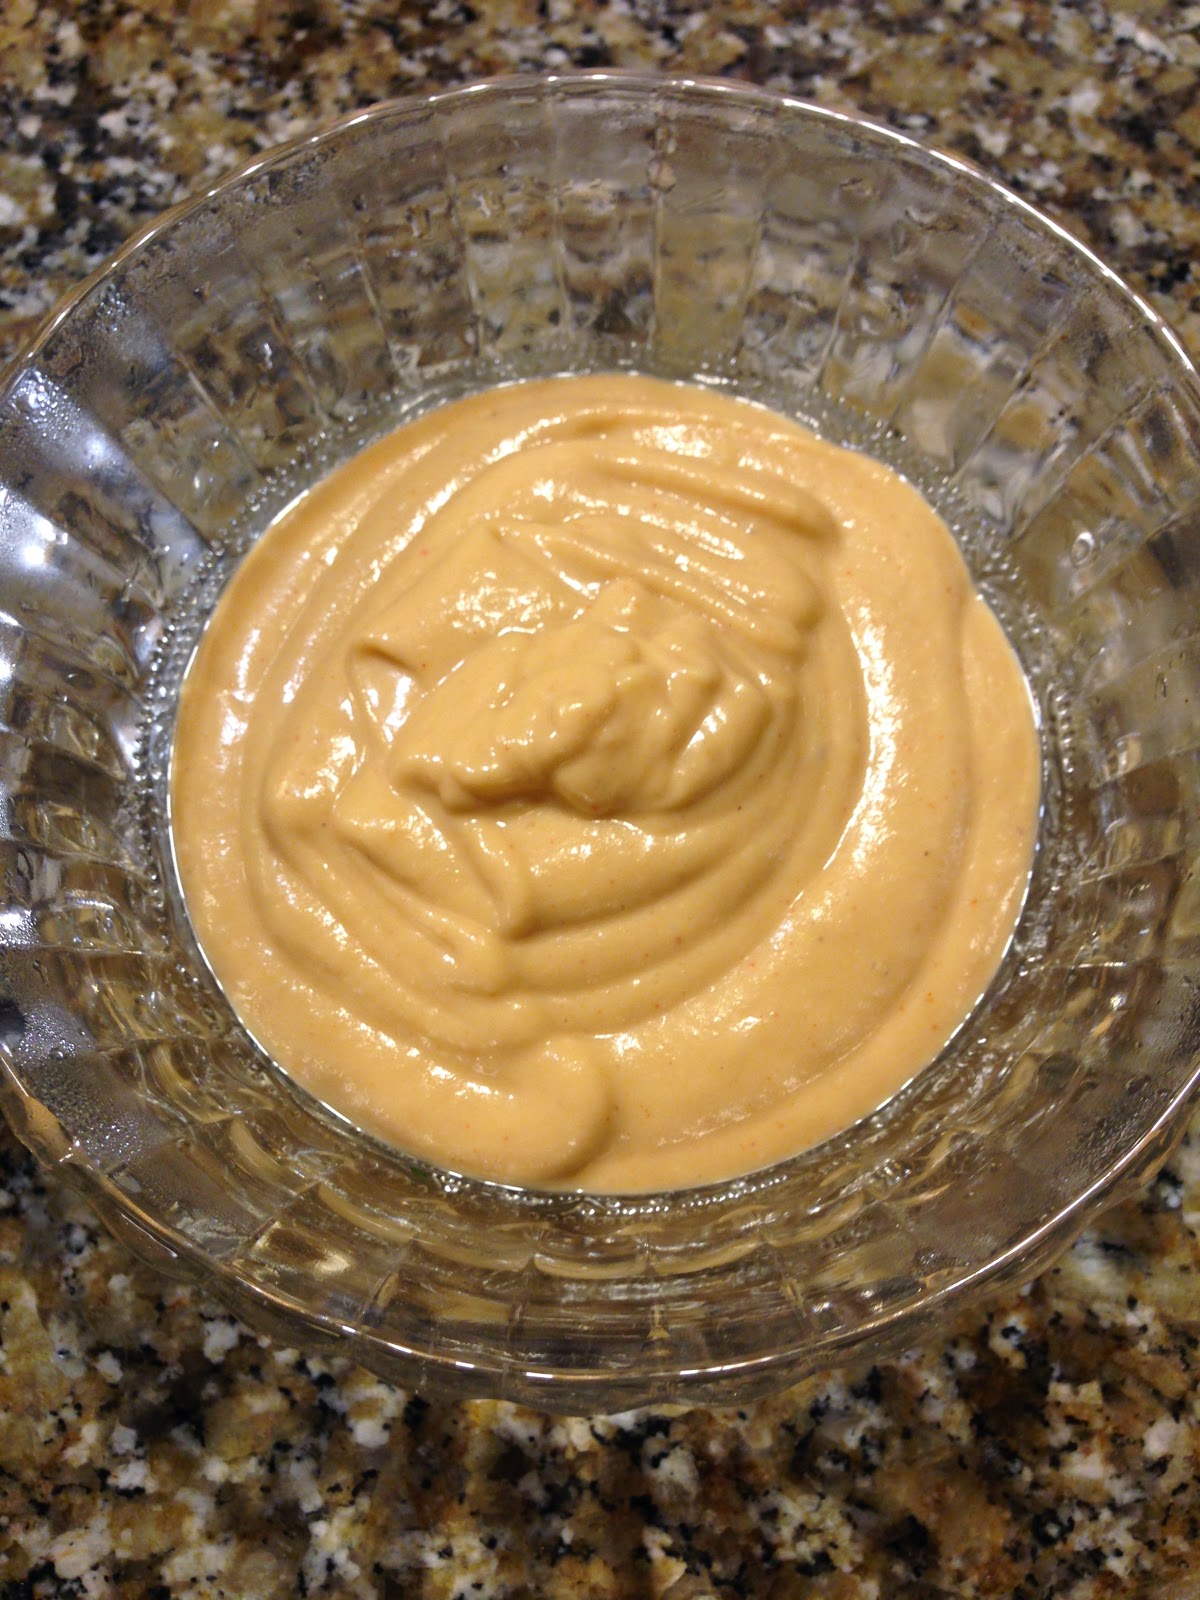
1 recipe creamy roasted garlic sauce
1 recipe mole style black beans with the following modifications:

  • Prepare an extra cup of veggie broth, divided
  • Omit the second 1/2 tsp. of salt
  • Forgo the black beans :)
8 leaves mustard greens
1 cup TVP
1/2 cup water
1 Tbls. apple cider vinegar
2 Tbls. Bragg's liquid aminos (or soy sauce, or tamari)
1/2 tsp. liquid smoke
1/2 tsp. onion powder
1 tsp. smoked paprika
1 Tbls. maple syrup
1 Tbls. vegan butter
2 Tbls. chopped parsley
Salt, pepper, and garlic powder for sprinkling

Begin by making the pizza dough. Let it rise while you continue the rest of the recipe.


Start roasting the garlic for the roasted garlic sauce.

Start the mole sauce. While the onion and garlic are cooking, prepare the rest of the ingredients for the sauce. Instead of the original 1/2 cup of broth, use 1 cup and save your remaining 1/2 cup for later.

After you add the second batch of ingredients for the mole sauce, combine in a bowl the water, vinegar, Bragg's, liquid smoke, onion powder, paprika, and maple syrup. Microwave 1-2 minutes until boiling, then stir in the TVP. Cover and let sit for about 10 minutes, until the liquid is absorbed.


While the TVP is resting, chop the mustard greens nice and tiny. Unless you have a restaurant-sized kitchen you'll probably need to take a few minutes to clean up a bit at this point.


Using an immersion blender (or if not, just transfer to a regular blender) blend the mole sauce until smooth. Stir in the TVP and your remaining 1/2 cup of broth and cover, simmering.


Your garlic should be done by now so go ahead and make the garlic sauce. Stir in the mustard greens.


And now the pizza dough should be good to go. Preheat the oven to 400 F and divide the dough into 16 pieces.


Roll each into a flat circle about the size of your hand and place on a baking tray.


Spoon 1 tablespoon of the garlic/mustard greens mixture into the center of each piece of dough (you might have some filling leftover). Using your finger, spread a thin later of water on the edge of the dough.


Fold over and pinch shut to make a calzone shape. Repeat for all 16 pieces of dough.


Melt the butter and brush onto each calzone.


Sprinkle with salt, pepper, and garlic powder.


Bake for 18 minutes, switching oven racks halfway through if you need to use 2 racks.

Serve calzones with the mole sauce and sprinkle with parsley before serving.


Spelt and Beans with Creamy Lime Dressing

We are onto week 2 now of the One-Handed Chef (check out the first attempt at lunch here). It's getting better though...I can now put slight pressure on my finger (I am using it to type right now!) though I'm still nervous about getting it wet. So I present to you another recipe that is easy to make with minimal use of your non-dominant hand. Easy and tasty. My only two criteria for cooking...

Spelt and Beans with Creamy Lime Dressing (males 5 servings)

1 1/4 cups dried spelt
1 cup black beans (drained and rinsed if canned)
1 cup canned (drained and rinsed if canned)
2 cups spinach, chopped*
3 cups chopped kale*
3/4 cup parsley, chopped*
1-2 cups cherry tomatoes, chopped*
1 cup corn kernels
1 recipe creamy basil lime salad dressing

*The food processor is your friend here.

Cook the spelt according to package directions. Let cool and combine with the rest of the ingredients.


Creamy Basil Lime Salad Dressing

If you've been reading this blog on the regular you've probably heard me lamenting about the lack of yogurt in my life (if you think the saga of a yogurt company having to re-vamp their production is interesting you can click all the way back on their blog...but the short version of the story is the yogurt I like was out of production for about a year), but now it is BACK and I am EXCITED. Aaron and I were bored with our current salad dressings last week so I whipped this one up and oh boy did we like it! And then of course I had to re-make it with, ya know, actual measurements so I could blog about it.

Creamy Basil Lime Salad Dressing (makes a generous 1 cup)

1 cup unsweetened plain non-dairy yogurt
Juice of 1 1/2 limes
1/2 tsp. salt
1/4 tsp. pepper
1/4 tsp. garlic powder
3/4 tsp. dried basil
1 1/2 Tbls. agave nectar
2 Tbls. olive oil*

*We have a delightful lime-infused olive oil, but if you don't have that then regular olive oil is just fine

Whisk together all ingredients except for the oil. Continue whisking while you slowly drizzle in the oil.


Smoky White Bean Hummus

I started making white bean hummus several years ago when I bought cannellini beans for hummus because the store was out of chickpeas. And I learned that white bean hummus is so. good. Though for some reason I like it better without olive oil in it, whereas I love the olive oil in traditional chickpea hummus. I've made variations of this one over the past couple months to give it a smoky kick but this was the first batch that I actually thought "Yes, this is how I want it to taste."

Smoky White Bean Hummus (makes 3 cups)

2 cans cannellini beans, drained with 1/2 cup of liquid reserved
2 cloves garlic
Juice of 1/2 lemon (fresh!)
2 Tbls. tahini
1 tsp. liquid smoke
1 tsp. smoked paprika
3/8 tsp. sea salt*
3/8 tsp. citric acid*
1/4 tsp. white pepper*

*If you have all of your hummus seasonings in a big batch like I do here, just 1 tsp. of the mix.

Combine all of the ingredients in a blender and blend until smooth.


Lentil and Wheat Berry Salad

Sparing you the details, my finger is out of commission for at least a week due to an unfortunate knife incident the other day. Thankfully Aaron is an excellent cook and has been making me the most tasty and romantic meals but for lunch this week I wanted to do it myself. I'm not being a wimp about cooking sans one finger (though it is my index finger and aside from one's thumb it is the most frustrating finger to not be able to use), it just can't get wet and plastic gloves don't fit over the bandage. Yes, showering is a challenge. But anyways, this lunch was created specifically for the one-handed chef. So if that's you, rejoice! And if that's not you, rejoice anyways because it's tasty.

Lentil and Wheat Berry Salad (makes 5 servings)

1 1/4 cups wheat berries
1 1/4 cups lentils (any kind)
1 cup parsley
4 cups spinach
1 cup pea shoots
1 cup shredded carrot
1/3 cup chopped pecans*
1/3 cup chopped walnuts*
1/2 cup dried cranberries
2 Tbls. olive oil
1 Tbls. red wine vinegar
2 Tbls. apple cider vinegar
1 tsp. cumin
1 tsp. dried basil
3/4 tsp. salt
1/4 tsp. black pepper

*Buy these pre-chopped. We're cooking one-handed, remember? (Yes I am well-aware of things like the rocker knife. But I don't own one.) If you only have them whole, well that's what the food processor is for :)

Cook the lentils and wheat berries according to the package directions (I was lazy and cooked them together in one pot).

While the lentils and wheat berries are cooking, mix together the olive oil, vinegars, and seasonings in a small bowl and set aside.


In a food processor pulse the parsley and spinach until nice and chopped. Transfer to a large bowl.


Add the rest of the ingredients, including the lentils and wheat berries, when they're cooled (pop them in the freezer for a bit if you want). Toss with the dressing before serving.


Cookie Ice Cream

Ah, cookies and ice cream. A perfect match. The ice cream sandwich has been around for a while but cookie ice cream? I would like to think this genius idea was born right here in our own kitchen. Aaron and I have done this with Oreos (aaahhhhhmazing) but for this post we did it with peanut butter oatmeal cookies (these, without the chocolate chips). Ie this ice cream is great for when you bake a triple batch of cookies, your friends eat less than you thought they would, and now you have half of your fridge taken up by cookies and you don't know what to do with them. Use whatever cookies you want, or a combination if you're feeling adventurous.

Cookie Ice Cream (makes 1 batch)

16 cookies, whatever kind you want
1 pint soy creamer
1 cup soy milk, divided
2 Tbls. arrowroot powder
1/4 cup sugar*

*Depending on how sweet your cookies are you may need more or less sugar. This amount has worked for us each time but sweeten to your own liking.

Take 8 of the cookies and chop or break them up small. Seal in a tupperware and freeze.


Take the other 8 cookies and blend with the soy creamer, 1/2 cup of the soy milk, and the sugar.


In a small bowl combine the remaining 1/2 cup of soy milk with the arrowroot powder and set aside.

Pour the cookie mixture into a pot and heat until boiling, then quickly whisk in the arrowroot mixture to thicken. 


Refrigerate until cool, then make according to your ice cream maker's instructions. In the last few minutes of churning, add in the frozen cookie bits.


Ricotta Cheese

At the risk of discouraging you from reading this post, I have never liked ricotta cheese. When I ate dairy I tolerated small amounts of it in lasagna but I have never been crazy about it. Though sometimes you just need ricotta cheese! My parents had a dinner party last weekend and my mom made lasagna roll-ups (basically spread the lasagna ingredients on a flat lasagna noodle, roll it up, and bake it with cheese and sauce. Amazing.). She asked me to bring vegan ricotta cheese so she could make mine separately and after checking out a couple recipes online, this is what I came up with. And I definitely like this ricotta cheese!

Ricotta Cheese (makes 1 1/2 cups)

1 package extra firm tofu
2 Tbls. nutritional yeast
1 Tbls. lemon juice (fresh is best)
1 Tbls. tahini
1 Tbls. white miso paste
1/2 tsp. onion powder
1/4 tsp. garlic powder
1/4 tsp. black pepper
1/2 tsp. salt

Start by pressing the tofu. While it is pressing, mix the other ingredients together in a large bowl.


Crumble the tofu into the seasonings and mix together with your hands. Use however you would use ricotta cheese (though it does not melt!).


Chickpea Mash

My dear friend Mandy baked us not one but two loaves of challah this weekend. I could eat bread all day long but unfortunately I have to go to work...so I have been bringing it in my lunch this week so I can eat bread while at work. The past week has been a bit rough but luckily I have had Mandy and her challah to help get me through. But one needs something besides challah and I didn't want to spend a lot of time on that other something, so behold this chickpea mash. This is a lot easier if you have a food processor but if not just chop up your veggies real small and mash the chick peas with the back of a fork. Serve as a side salad or as a main course, scooped up with tasty bread.

Chickpea Mash (makes 3-4 cups)

2 cans chick peas, rinsed and drained
2 leaves kale
1 rib celery
1 tsp. onion powder
1 Tbls. toasted sesame oil
2 Tbls. Bragg's liquid aminos (or soy sauce, or tamari)
1 Tbls. rice vinegar

In the food processor, pulse the kale about 20 times until it is roughly chopped.


Roughly chop the celery and add to the food processor, running it for just a few seconds until everything is nice and tiny.


Add the rest of the ingredients and pulse until the chickpeas are mashed - stop before they're blended. Then it's ready to serve!


Chickpea mash with its friend challah, ready to go to work to fulfill its lunch destiny.


Brownie Brittle

A while back I came across a recipe for gluten-free (but not vegan) cookies that used powdered sugar instead of flour and granulated sugar. Aaron and I had a housewarming party last weekend and I couldn't find the recipe when I wanted to veganize it so our gluten-free guests would have a dessert...so I attempted it myself. It was a failure in the sense that it was totally not cookies but a success in that the resulting product was amazing. I had no idea what to call it and Aaron immediately knew it was brownie brittle. When I asked him what brownie brittle was he said "It's that. What you made, we're calling it brownie brittle." So there you have it. Fudgy, chewy, melt-in-your-mouth amazing brownie brittle

Brownie Brittle (makes 1 sheet)

1 Tbls. Ener G Egg Replacer Powder
1/4 cup water
2 Tbls. vegan butter
1 cup powdered sugar
1/4 cup tapioca flour
1/4 cup cocoa powder
Splash of vanilla extract
Pinch of sea salt
1/4 cup chopped walnuts (optional)

Preheat the oven to 350 F and prepare a large baking tray with a sheet of parchment paper. In a large bowl combine the Ener G and the water and let it sit for a few minutes.


In a small bowl microwave the butter until softened. Add to the "egg" mixture along with the rest of the ingredients and beat until smooth.

Note: My sincerest apologies if your beaters turn your kitchen into a powdery mess like ours do. Aaron had the idea to put the bowl in the sink to beat it but that only spread the mess to the area surrounding the sink. With all due respect to those who have lived through dust bowls, this is what I imagine it must be like. Next time, we're beating outside.


Drop the mixture about 1 Tbls. at a time onto the baking sheet, as if you were baking cookies. Bake for 12 minutes and, hey, no cookies!


Let cool, then tear into pieces for serving.


Or just, um, eat it off the tray.


PS I was eating brownie brittle as I wrote this post. Aaron is folding laundry right now. Win.

Chicken Alfredo

Well it certainly has been a while since I posted! Not that I haven't been cooking...it's just been more clean-out-the-refrigerator-and-scrap-together-a-meal-because-you-just-started-a-new-job kind of cooking, and it's embarrassingly not blog-worthy. But you know what is? This dish. The air's getting a bit of a nip in it so I whipped up this tasty, hearty pasta for us last week. If you've been following this blog lately you'll know that my new-ish Vitamix is slowly creeping its way up the list of things that I love in life, so yes, this was another dish that was created in the spirit of wanting to use the Vitamix.

Chicken Alfredo (serves 4)

3/4 cup raw cashews, soaked in water for a few hours
4 cloves garlic
1 large shallot
1 Tbls. vegan butter
1/2 cup nutritional yeast
1 tsp. sea salt
1/2 tsp. pepper
1/4 tsp. citric acid
1/4 cup soy milk
1 Tbls. olive oil
1 cup veggie broth
4 cups chopped cauliflower florets (about 1/2 head)
4 cups chopped broccoli florets (about 1 large crown)
1 cup frozen peas
4 servings whatever pasta you want (we used penne)
1 package Gardein Chick'n Strips Grilled

Preheat the oven to 400 F (if you have a toaster oven that will be much more energy efficient). Peel the garlic, chop off the weird ends, and wrap in tin foil. Roast until you need them later in the recipe (20-30 minutes).

Post-roasting

In a medium pan heat the butter over low-medium heat. Chop the shallot and saute until it has lost most of its purple hue. Remove from heat and set aside if it's done before you need it (next step...)


While the shallot is roasting, chop the cauliflower and add to a large, microwave-safe bowl with the veggie broth. Microwave for 4-5 minutes until tender. While the cauliflower is cooking, chop the broccoli into florets.

*Note: At some point in this recipe you will need to cook your pasta. Depending on what kind you use this may take more or less time - at any rate, figure out when to start your pasta based on the cooking time. Cook the pasta 2-3 minutes less than the recommended cooking time, and have it be "done" when the sauce and veggies are.

Drain the cauliflower, reserving the broth. Add the broccoli to the broth and microwave for 3-4 minutes, then add the peas and microwave for an additional minute. Drain the broccoli and peas, setting aside the veggies and reserving the broth.

Drain the cashews. Add the cauliflower to the blender along with the cashews, roasted garlic, shallot and butter, nutritional yeast, salt, pepper, citric acid, and soy milk. While the blender is running, add  the olive oil. If it's too thick add the reserved veggie broth until it's to your liking. (If it's all good, you don't need the broth anymore.)


Transfer the sauce to a large pot and heat over medium heat. Add in the pasta and veggies and cook for a few minutes.


While the pasta is cooking heat the "chicken" over medium-high heat in a dry skillet until warmed through and slightly charred. This doesn't take that long so watch it carefully!

Serve the pasta topped with chicken and enjoy!